记录一下工作开发环境的搭建。
Zookeeper集群
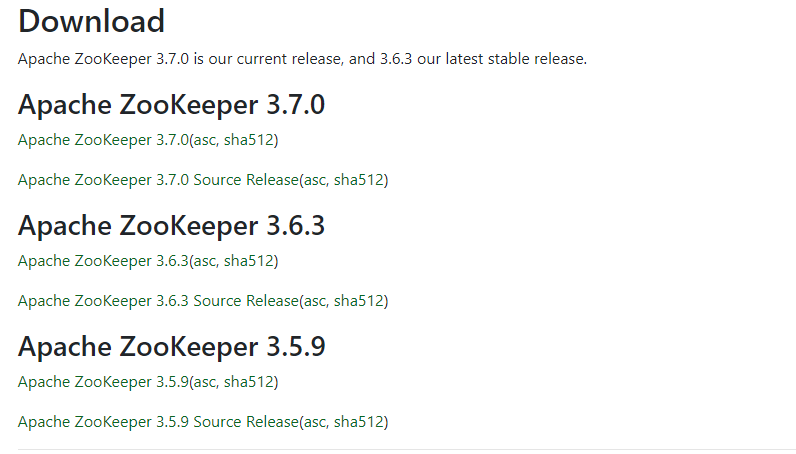
首先,去官网下载 zookeeper,下载地址。
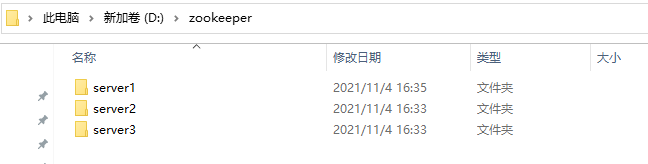
下载之后,解压文件夹,然后将解压后的文件夹复制三份,分别放在server1、server2、server3文件夹下
之后,分别进入三个文件夹下的conf目录,创建zoo.cfg文件,配置如下
1 | # The number of milliseconds of each tick |
注意,上面放的是server1的配置,server2和server3要调整一下clientPort、dataDir、dataLogDir属性。
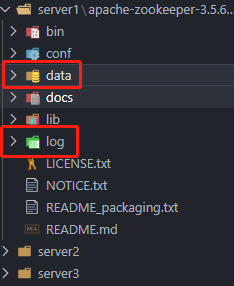
zoo.cfg配置完毕,创建两个文件夹:data、log
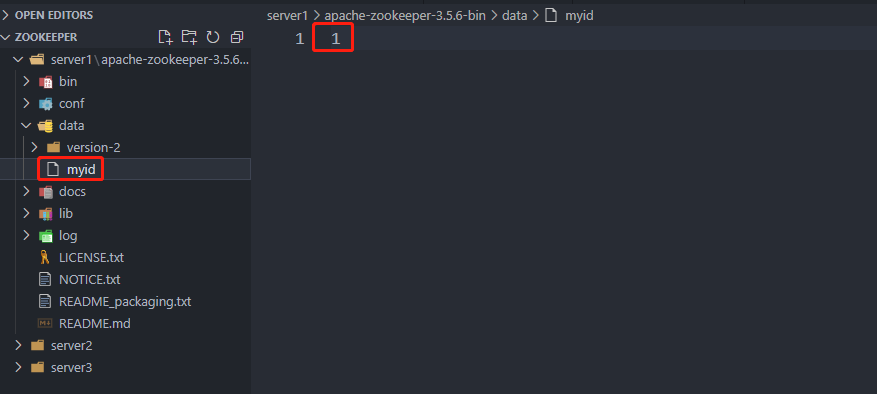
在data文件夹下创建 myid 文件,server1的值为1,server2的值为2,server3的值为3。
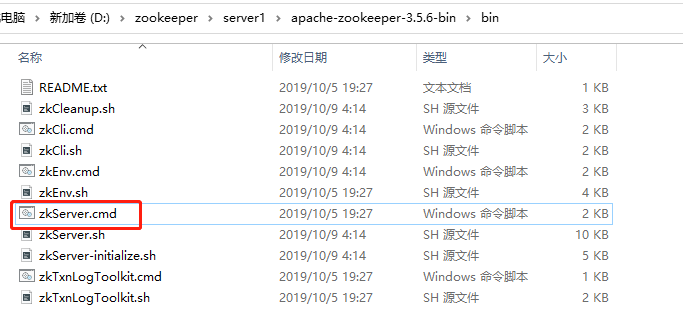
到这儿,配置就完成了,进入bin文件夹,分别启动三个服务的zkServer.cmd即可。
更便捷的启动方法是创建一个启动脚本,实现一键启动,启动脚本内容如下:
1 | start /d "D:\zookeeper\server1\apache-zookeeper-3.5.6-bin\bin" zkServer.cmd |
IDEA激活
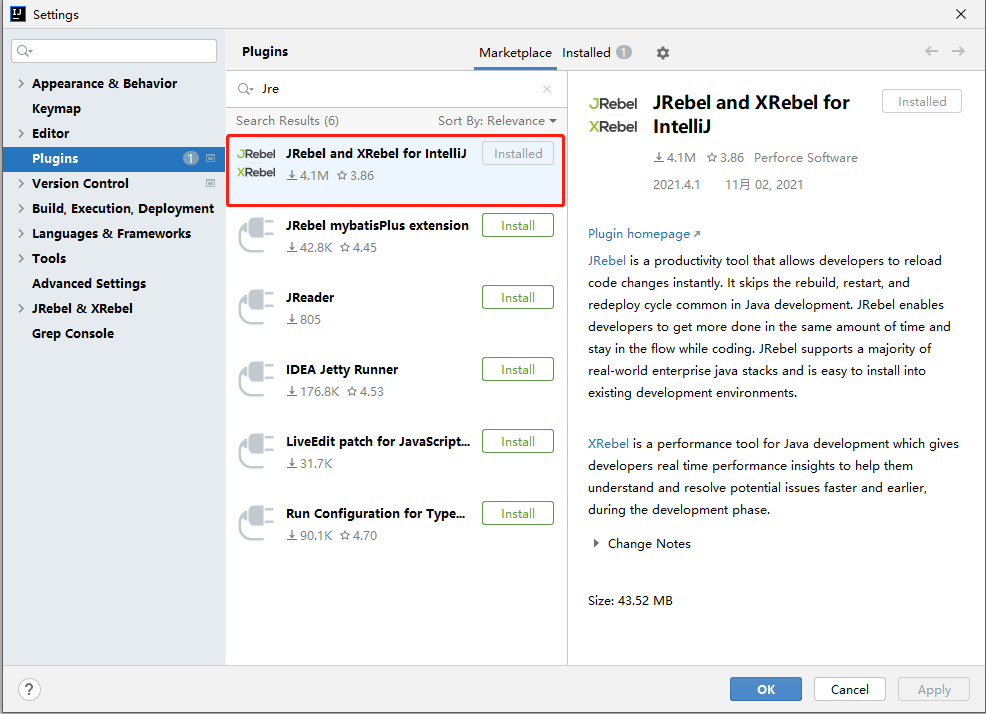
IDEA项目热部署插件—JRebel
首先去 IDEA 插件市场下载这个插件
之后重启IDEA,进行激活操作
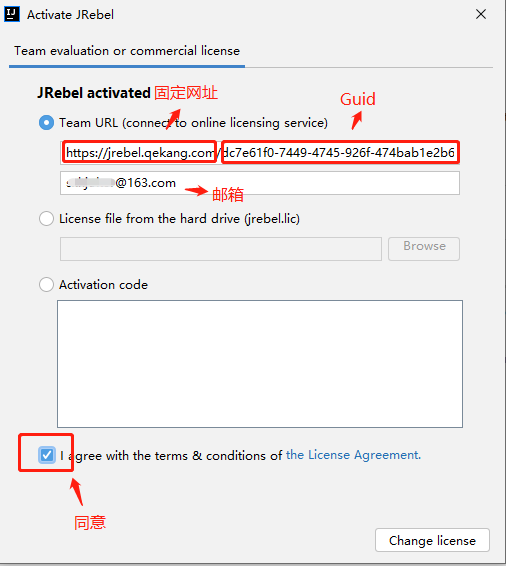
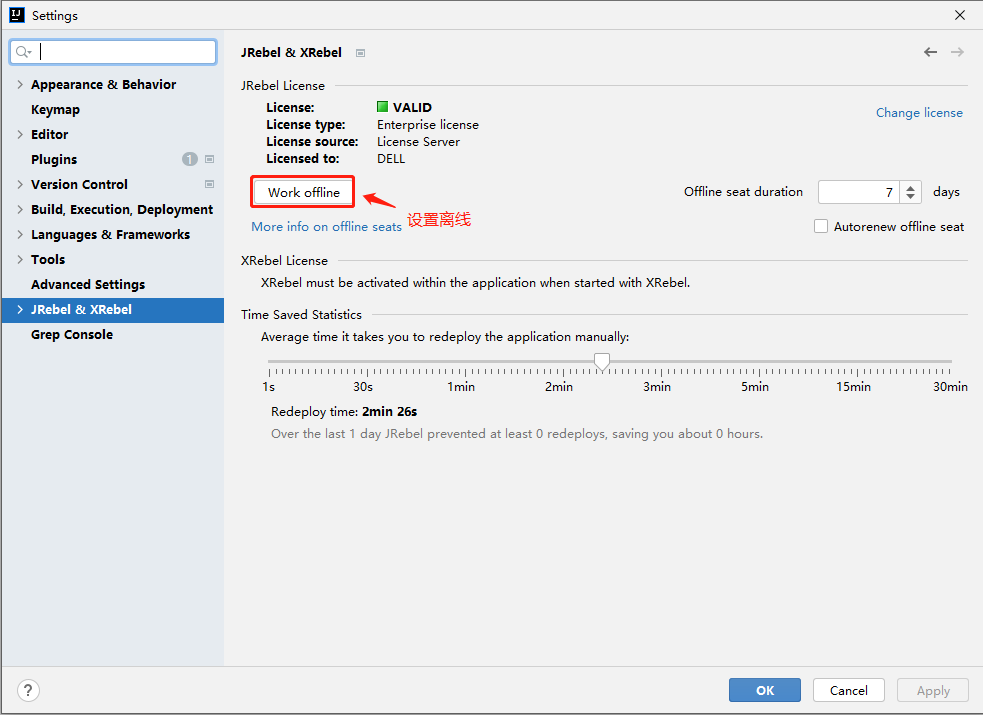
填入的URL是:https://jrebel.qekang.com/{GUID},其中 GUID 从这个网站中获取:获取地址。激活成功后,将 JRebel 设置为离线工作模式:
到这儿为止,插件安装完毕。要想项目支持热部署,还得进行一些设置:
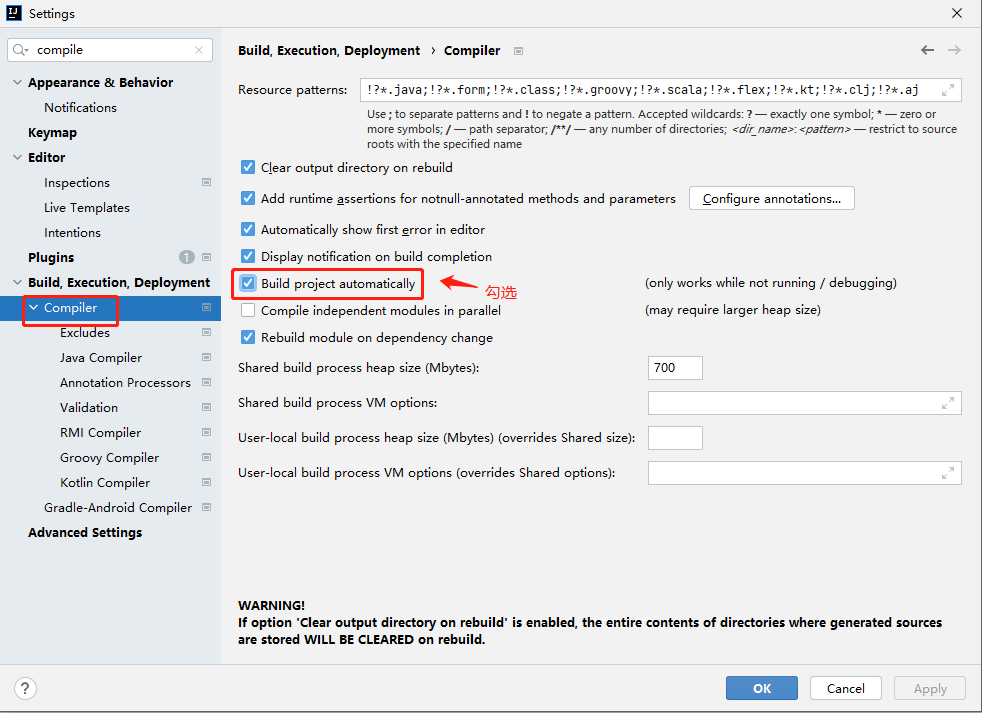
接着,需要打开运行时编译设置。快捷键 ctrl+alt+A,弹出的输入框中输入 registry,设置 compiler.automake.allow.when.app.running。

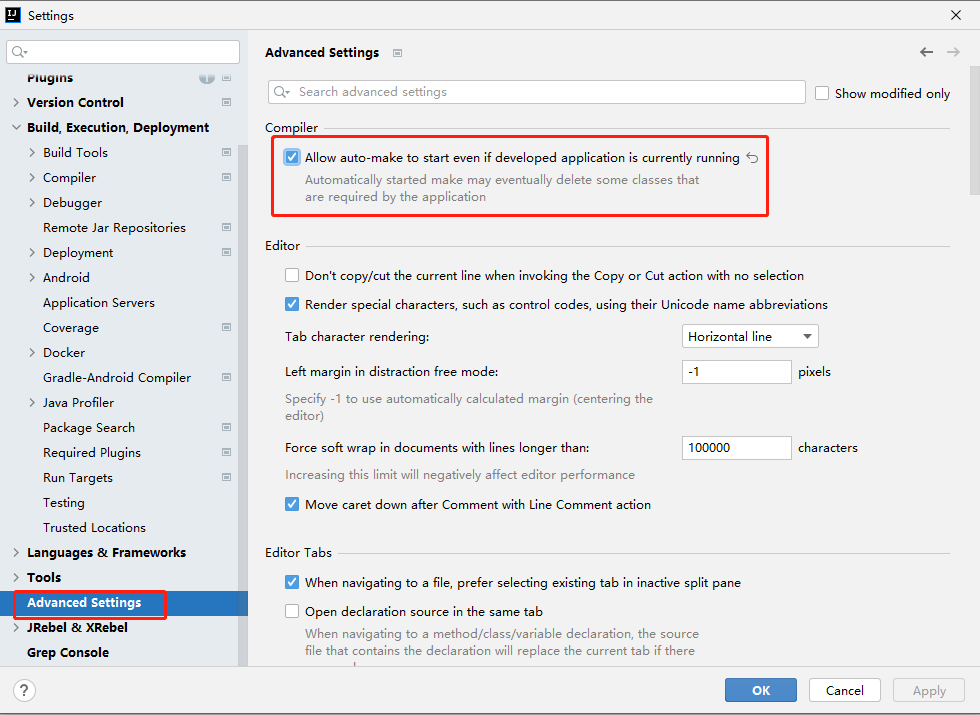
上面的设置在新版本的 IDEA 中可能没有,因为在 IDEA 2021.2 之后,该设置迁移到了 Advanced Settings 中,如下:
配置完成,之后就可以运行项目,实现热部署了
